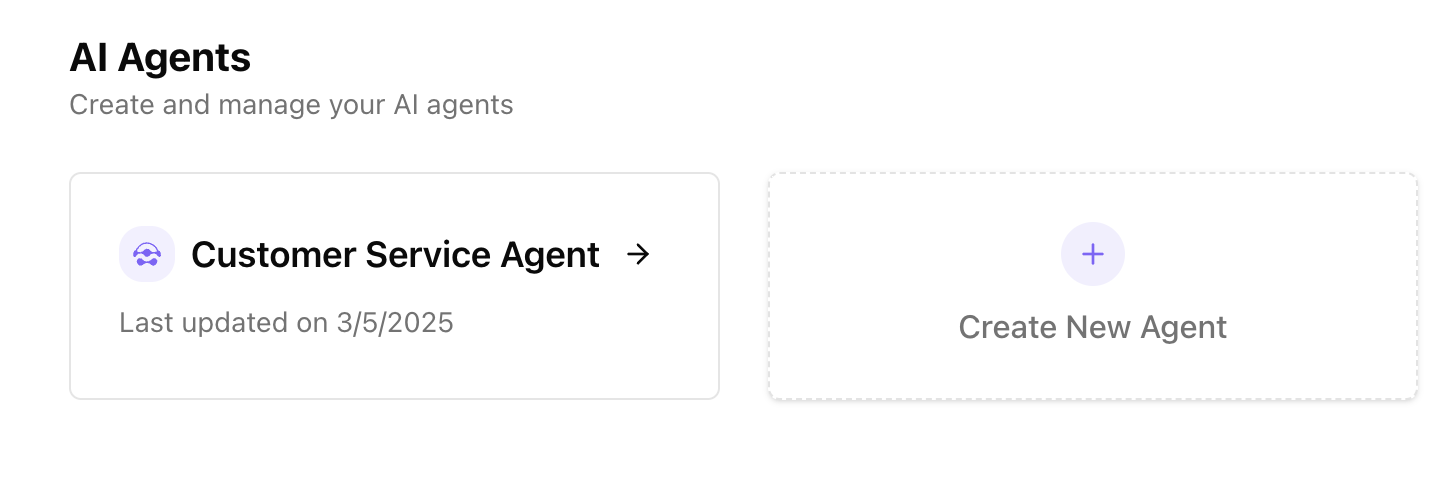
Step 1: Setting Up Your Recomi AI Agent
To embed a Recomi AI agent into your Webflow website, start by logging into your Recomi account. If you don’t have an account yet, you can create one for free. After logging in, configure your agent within the Recomi platform by uploading relevant data sources, such as text file, documents, which will help the agent build its knowledge base. Follow these steps to ensure a smooth integration of your Recomi AI agent into your Webflow website.Step 2: Generate and Copy Your Recomi AI Agent Embed Code
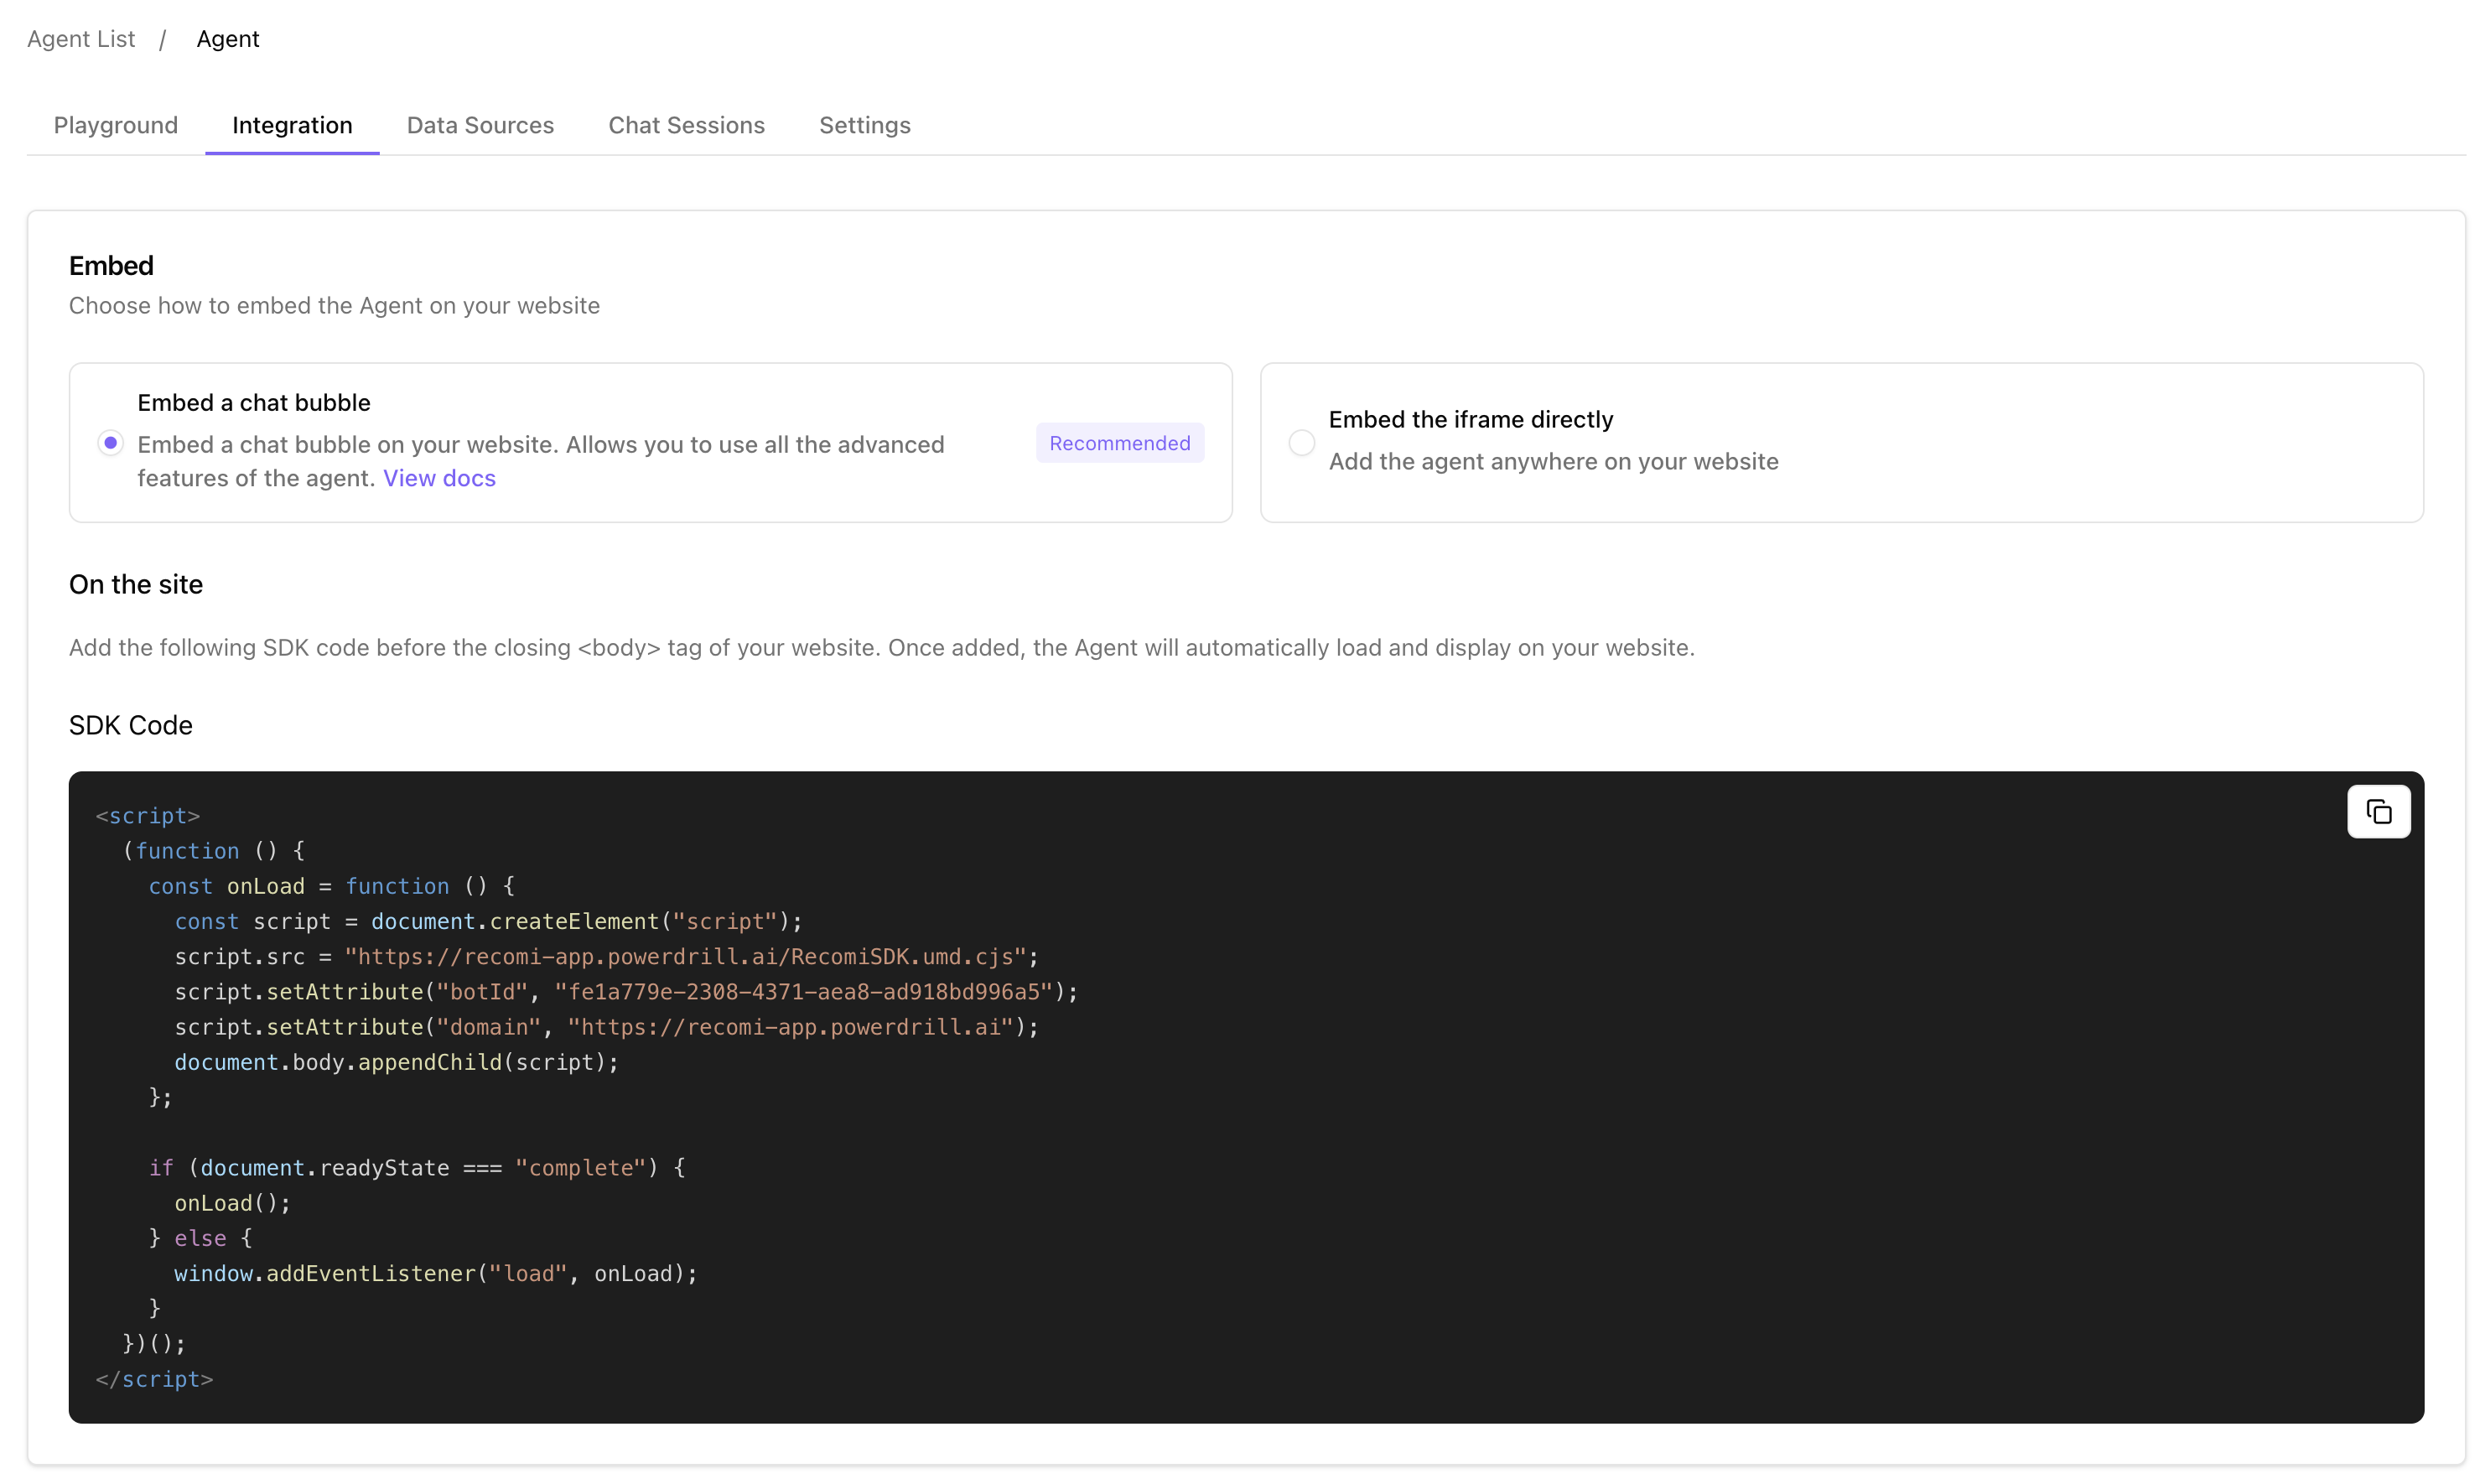
- Every agent created in Recomi comes with a unique embed code that allows it to be integrated into your website or application. Once your agent is set up, navigate to the Dashboard and select the specific agent you want to integrate with Bubble.
- Clicking on the agent will take you to its agent detailed page. From here, go to the Integration section.
- On this page, you will find the option of Embed a chat bubble to Copy Script. Click this button to copy the agent’s embed SDK Code.
Step 3: Embedding the Recomi AI Agent into Your Webflow Website
Before adding the embed code to your Webflow site, you will need to create a container to display the widget. This will ensure that the widget is displayed in the correct place on your website and doesn’t extend the entire width of the page.- To create a container, on Webflow, log into your Webflow account and go to your dashboard.
- On your Webflow dashboard, you’ll find a list of all your website projects, hover on the website you want to add the chatbot to and click on Open Designer.
- On the designer page, click on the file icon (Pages) on the top left corner of the webflow site designer and select the page you want to embed the chatbot.
- Once you’ve selected the page, click the Plus button (Add elements) on the top left corner of the designer screen, and a list of available elements should come up.
- Drag the Section element to the portion of the page you want to embed your chatbot.
- Drag a Container element unto the Section.
- Drag a Div element unto the Container element and set the size of the Div element to ensure that the bot will be contained within the Div and does not span the entire width of the page.
- Now, scroll down down the list of elements and drag the Embed element unto the Div you added on the Webflow canvas.
- Select and double-click the Embed element to reveal the HTML Embed code editor.
- Paste the Recomi AI agent embed code from Step 2 above and click Save & Close.
Customizing Your Recomi AI Agent
To personalize the appearance of your agent, go to your Recomi dashboard, select the agent you want to modify, and navigate to the Playground and Settings tab. You’ll find various customization options to adjust the agent to match your branding and service:- agent response language
- preset questions
- welcome message
- avatar and icon
- colors and visual style