> ## Documentation Index
> Fetch the complete documentation index at: https://docs.recomi.powerdrill.ai/llms.txt
> Use this file to discover all available pages before exploring further.
# Integrate Recomi AI Agent with Bubble
> Follow this step-by-step guide to seamlessly integrate a Recomi AI agent with Bubble, enhancing your website's interactive capabilities.
## Step 1: Setting Up Your Recomi AI Agent
To embed a Recomi AI agent into your [**Bubble**](https://bubble.io/) application, start by logging into your Recomi account. If you don't have an account yet, you can create one for free. After logging in, configure your agent within the Recomi platform by uploading relevant data sources, such as text file, documents, which will help the agent build its knowledge base.
Follow these steps to ensure a smooth integration of your Recomi AI agent into your Bubble app.
## Step 2: Generate and Copy Your Recomi AI Agent Embed Code
1. Every agent created in Recomi comes with a unique embed code that allows it to be integrated into your website or application. Once your agent is set up, navigate to the [**Dashboard**](https://recomi.powerdrill.ai/agents) and select the specific agent you want to integrate with Bubble.
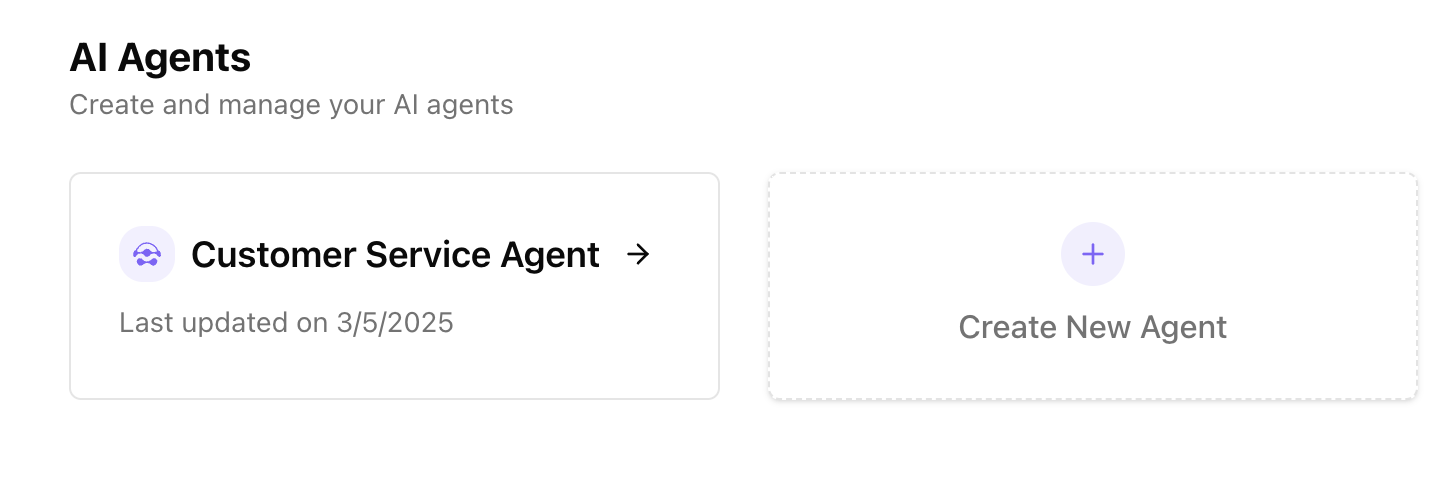 2. Clicking on the agent will take you to its agent detailed page. From here, go to the **Integration** section.
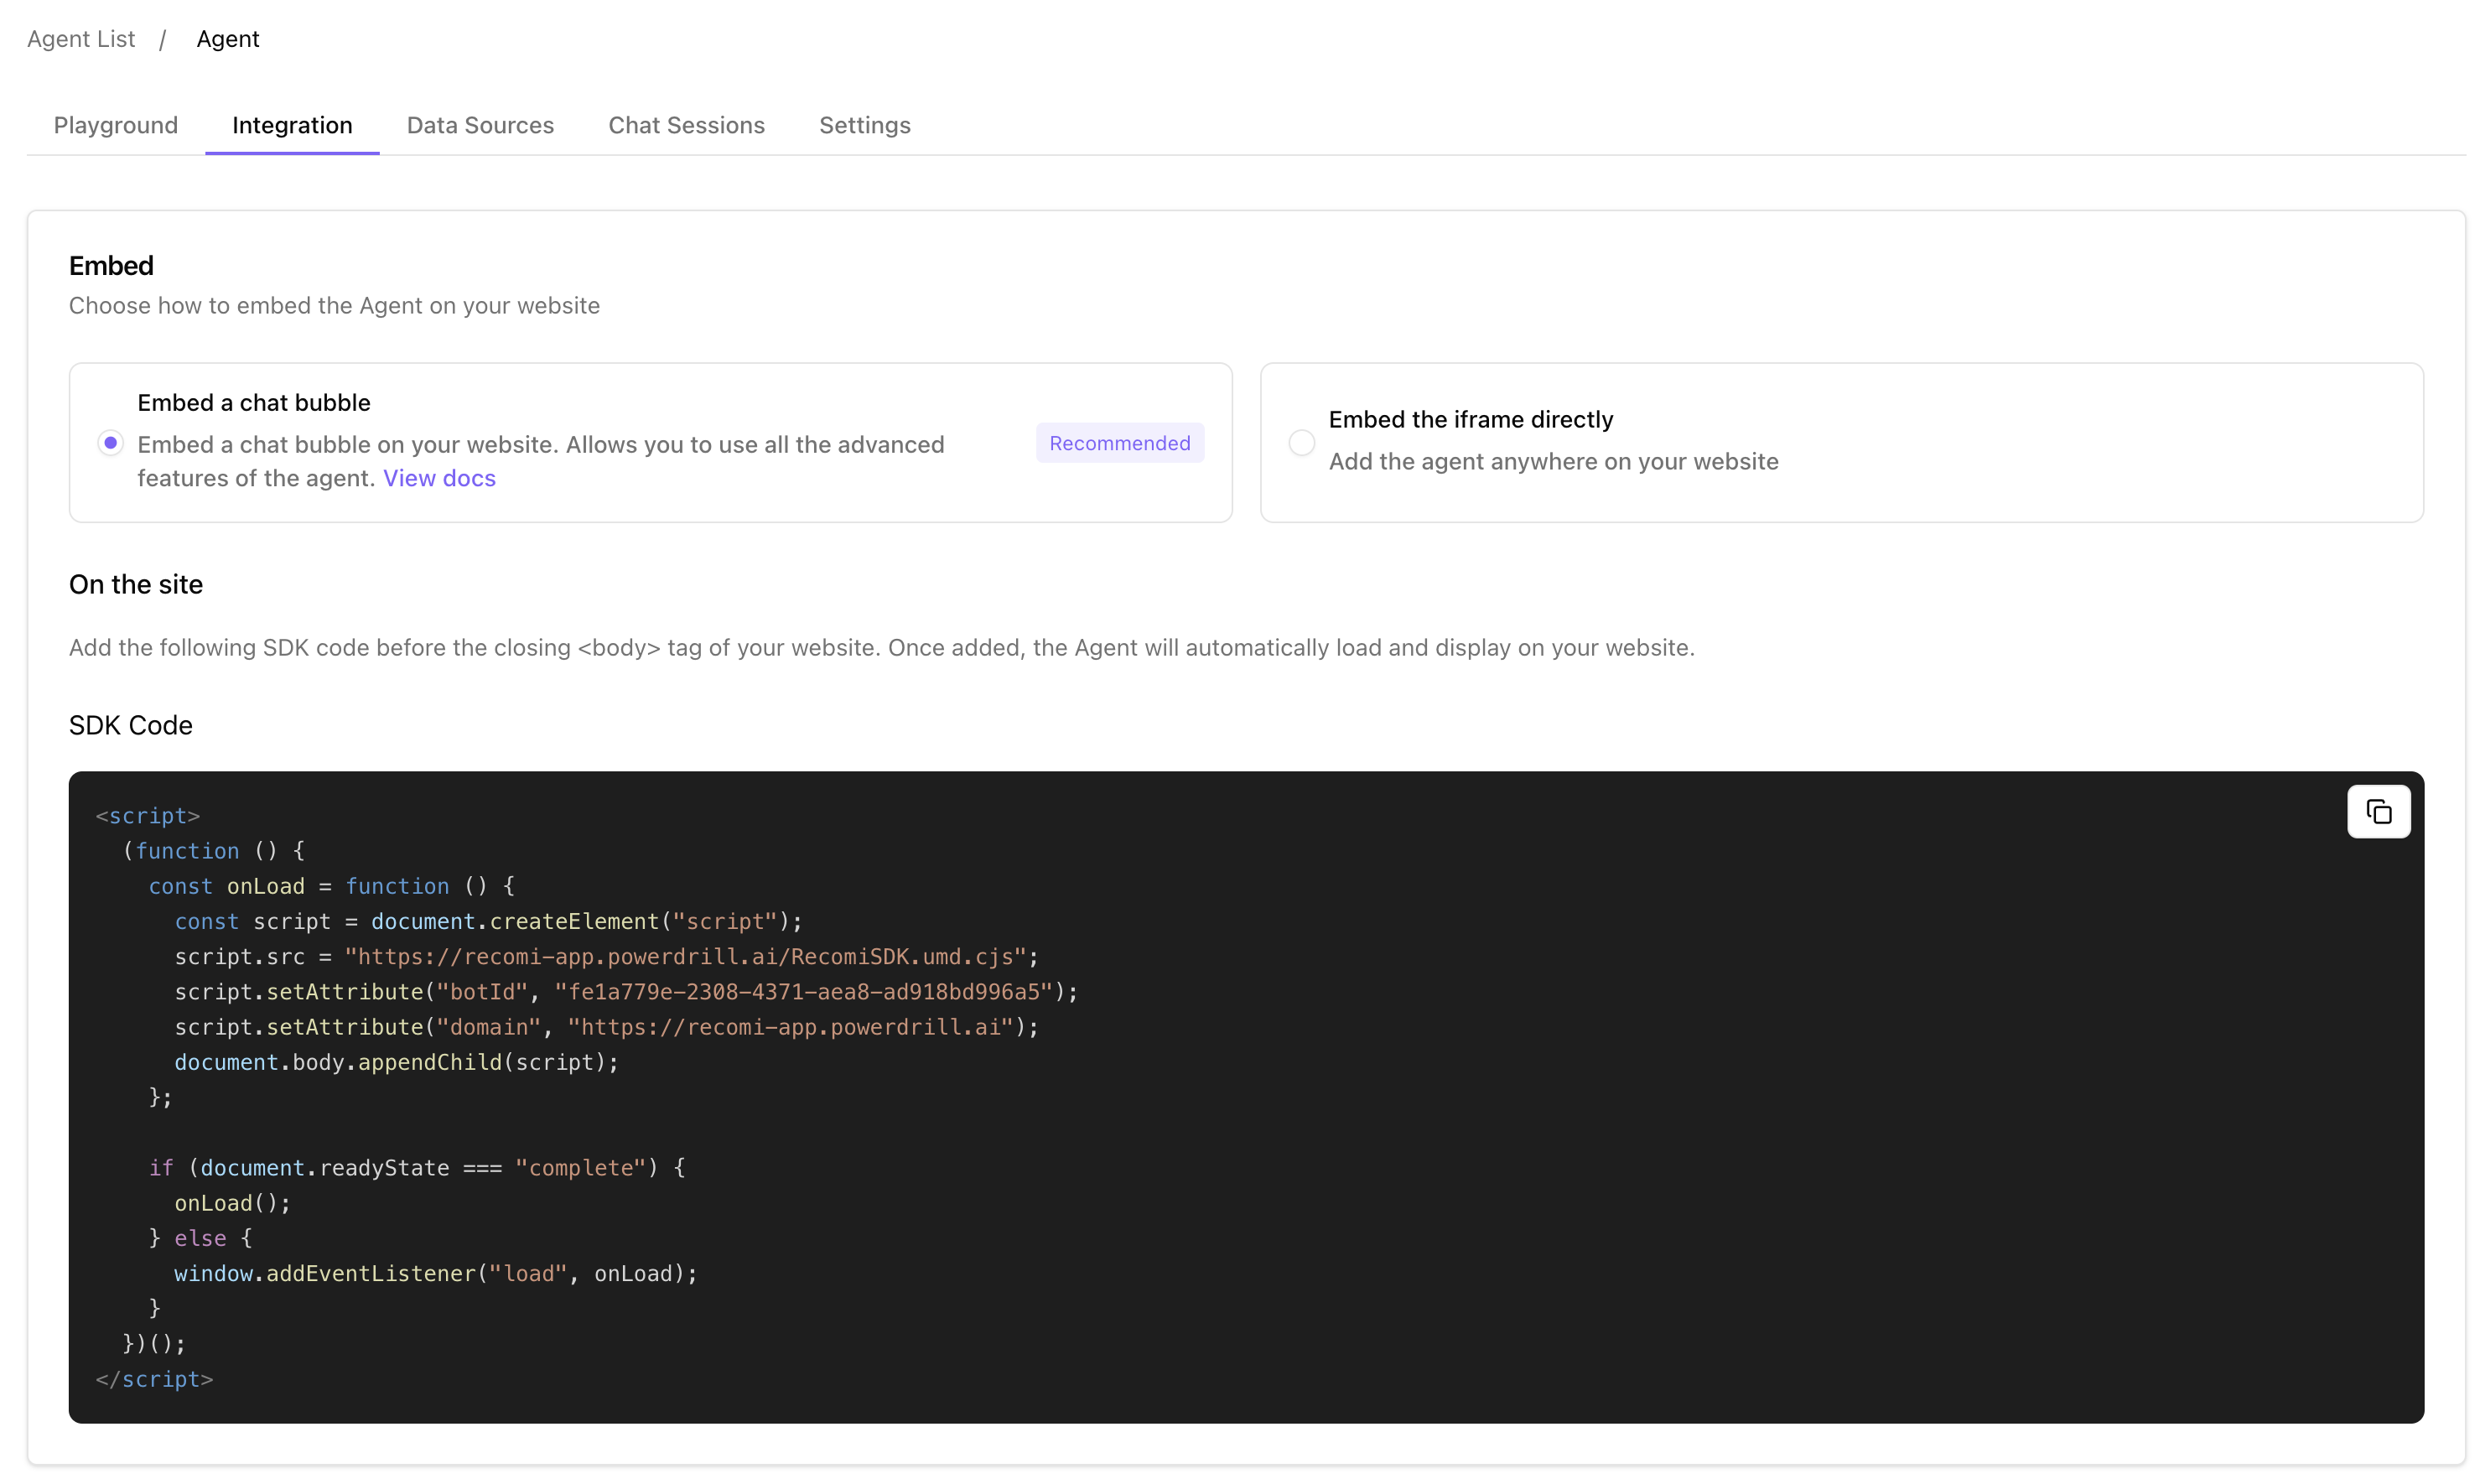
3. On this page, you will find the option of **Embed a chat bubble** to Copy Script. Click this button to copy the agent's embed SDK Code.
2. Clicking on the agent will take you to its agent detailed page. From here, go to the **Integration** section.
3. On this page, you will find the option of **Embed a chat bubble** to Copy Script. Click this button to copy the agent's embed SDK Code.
 ## Step 3: Embedding the Recomi AI Agent into Your Bubble Application
1. After copying the embed code, log into your [**Bubble**](https://bubble.io/) account and access your dashboard.
## Step 3: Embedding the Recomi AI Agent into Your Bubble Application
1. After copying the embed code, log into your [**Bubble**](https://bubble.io/) account and access your dashboard.
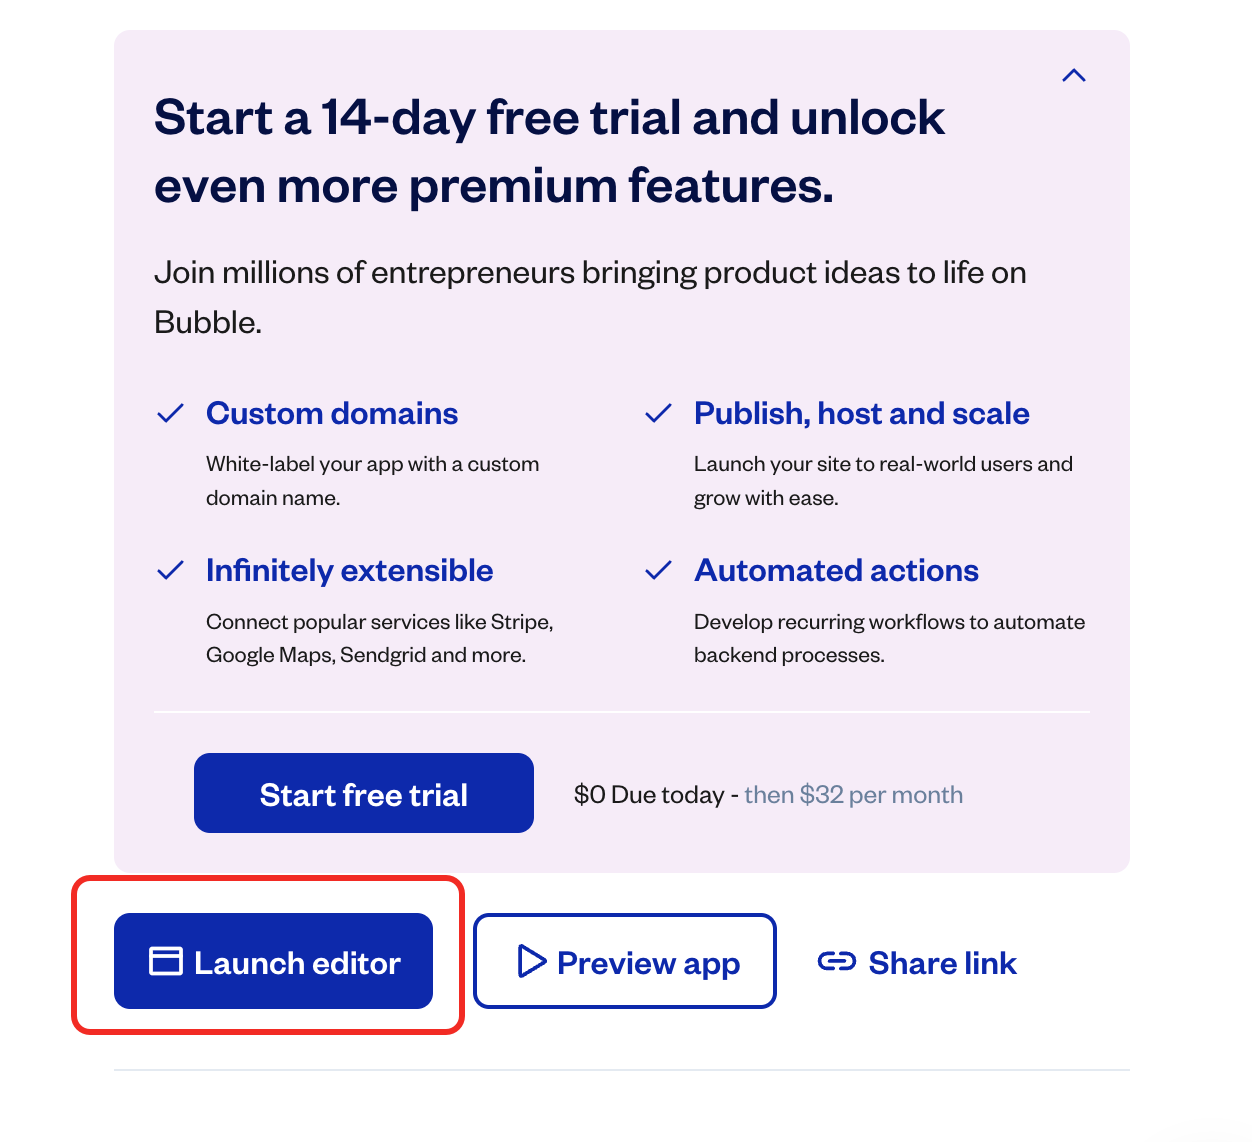
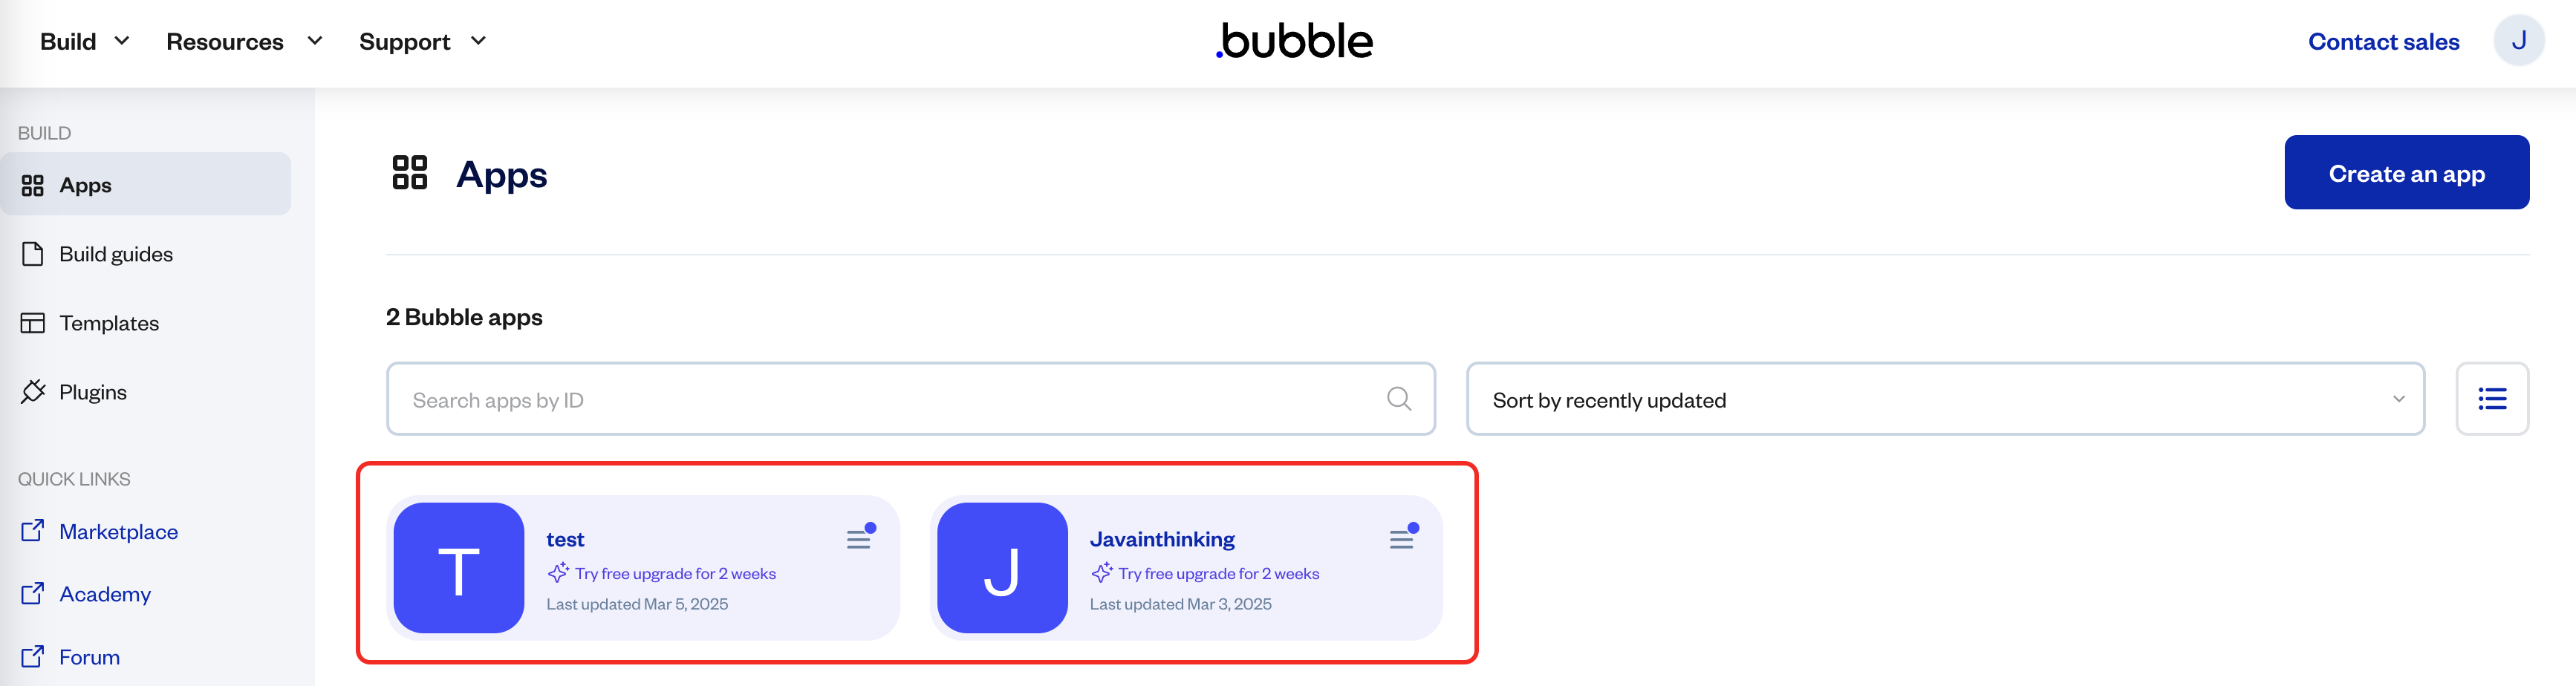 2. Select the Bubble app or website where you want to integrate the agent, then click on the Launch Editor button.
 3. In the Bubble Editor, navigate to the section of the page where you want the agent to appear.
4. On the left-side panel of the editor, locate the **HTML** component and drag it onto the page.
3. In the Bubble Editor, navigate to the section of the page where you want the agent to appear.
4. On the left-side panel of the editor, locate the **HTML** component and drag it onto the page.
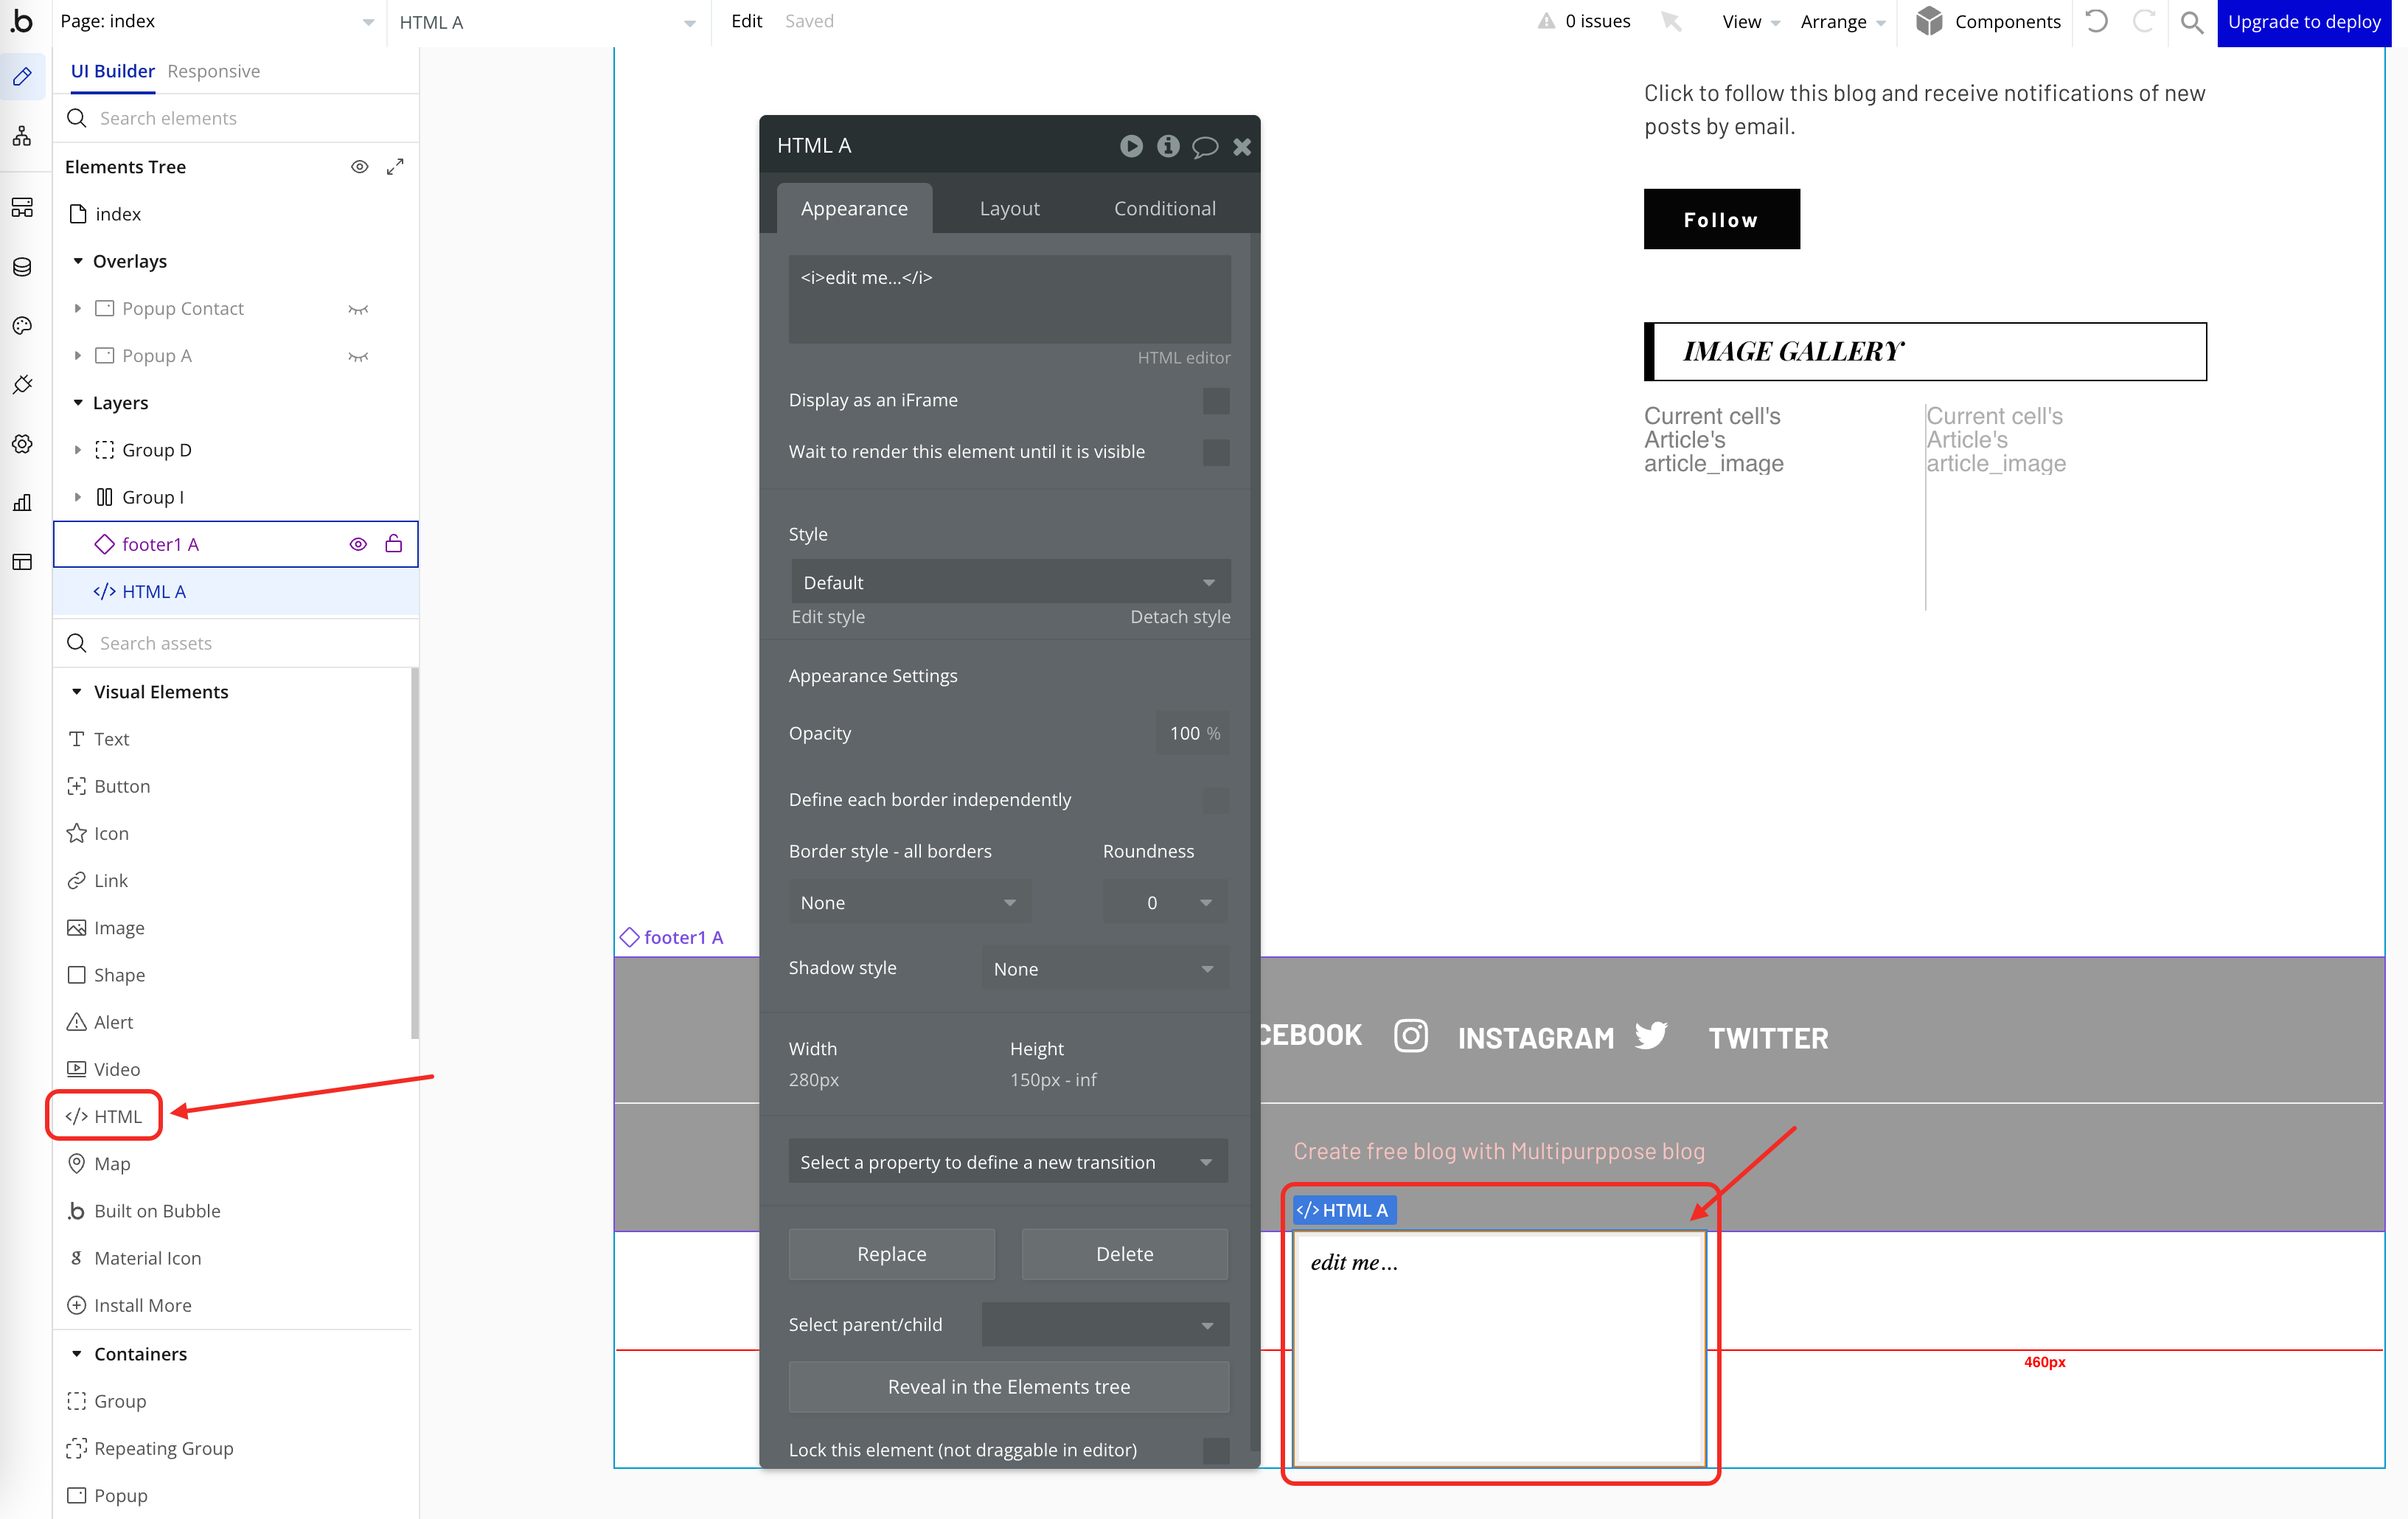 5. Double-click on the **HTML** component to open the code editor.
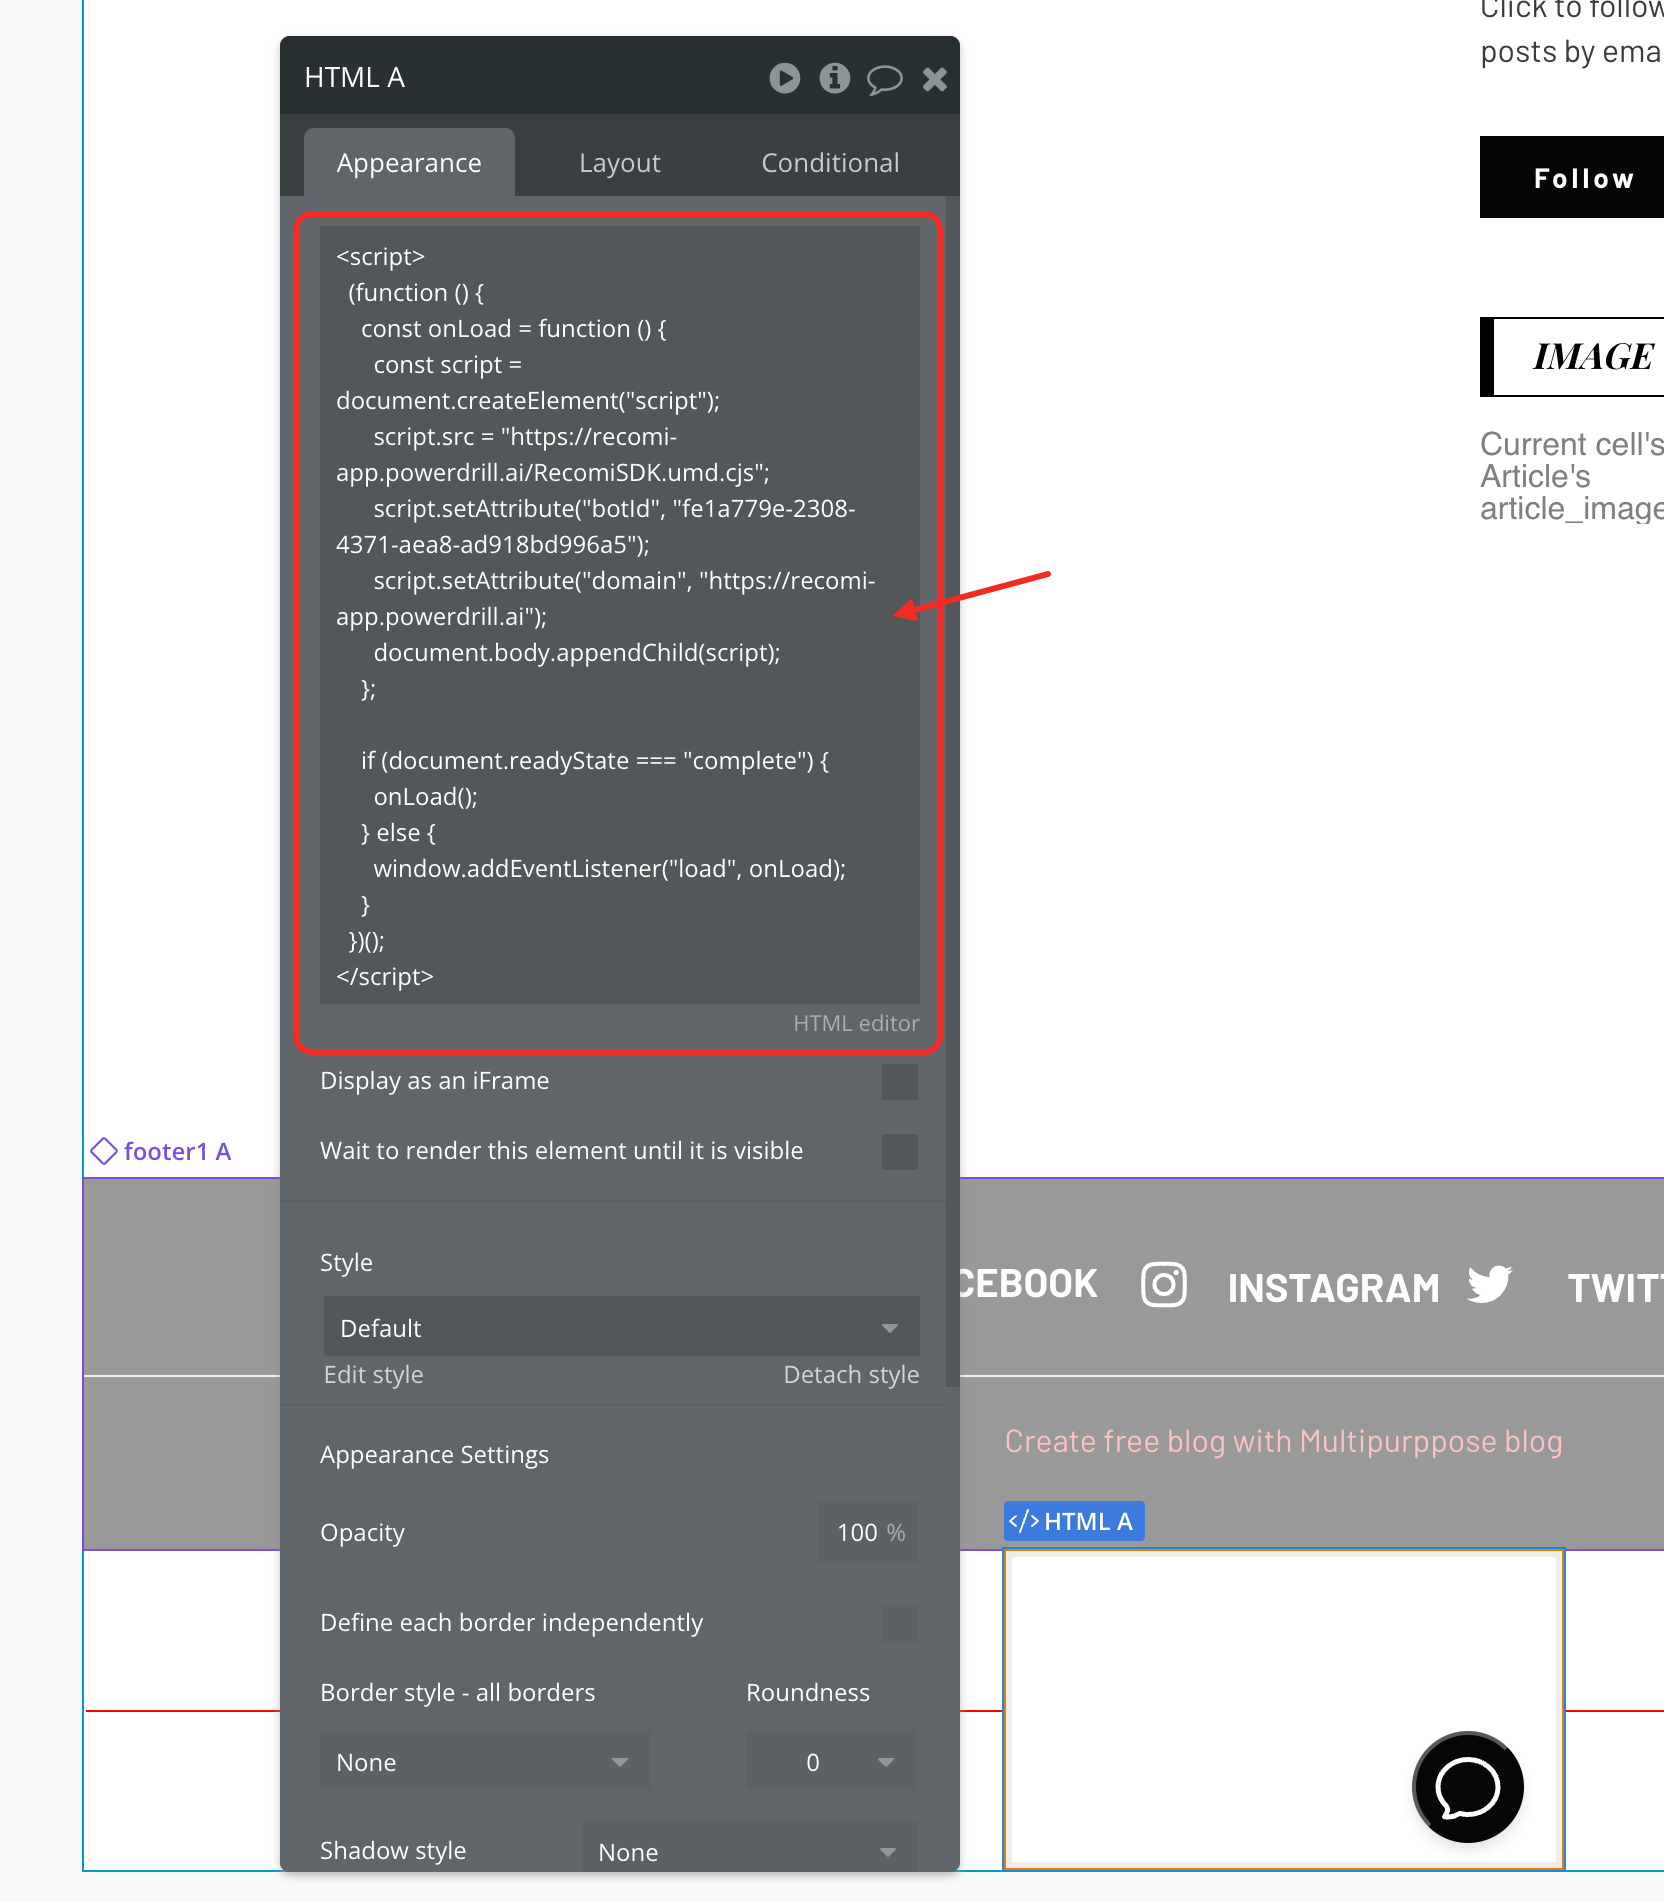
6. Paste the copied embed code into the editor. Once done, a floating agent icon should appear on the bottom left of the editor preview.
5. Double-click on the **HTML** component to open the code editor.
6. Paste the copied embed code into the editor. Once done, a floating agent icon should appear on the bottom left of the editor preview.
 7. You can now preview your Bubble application to test the agent's functionality.
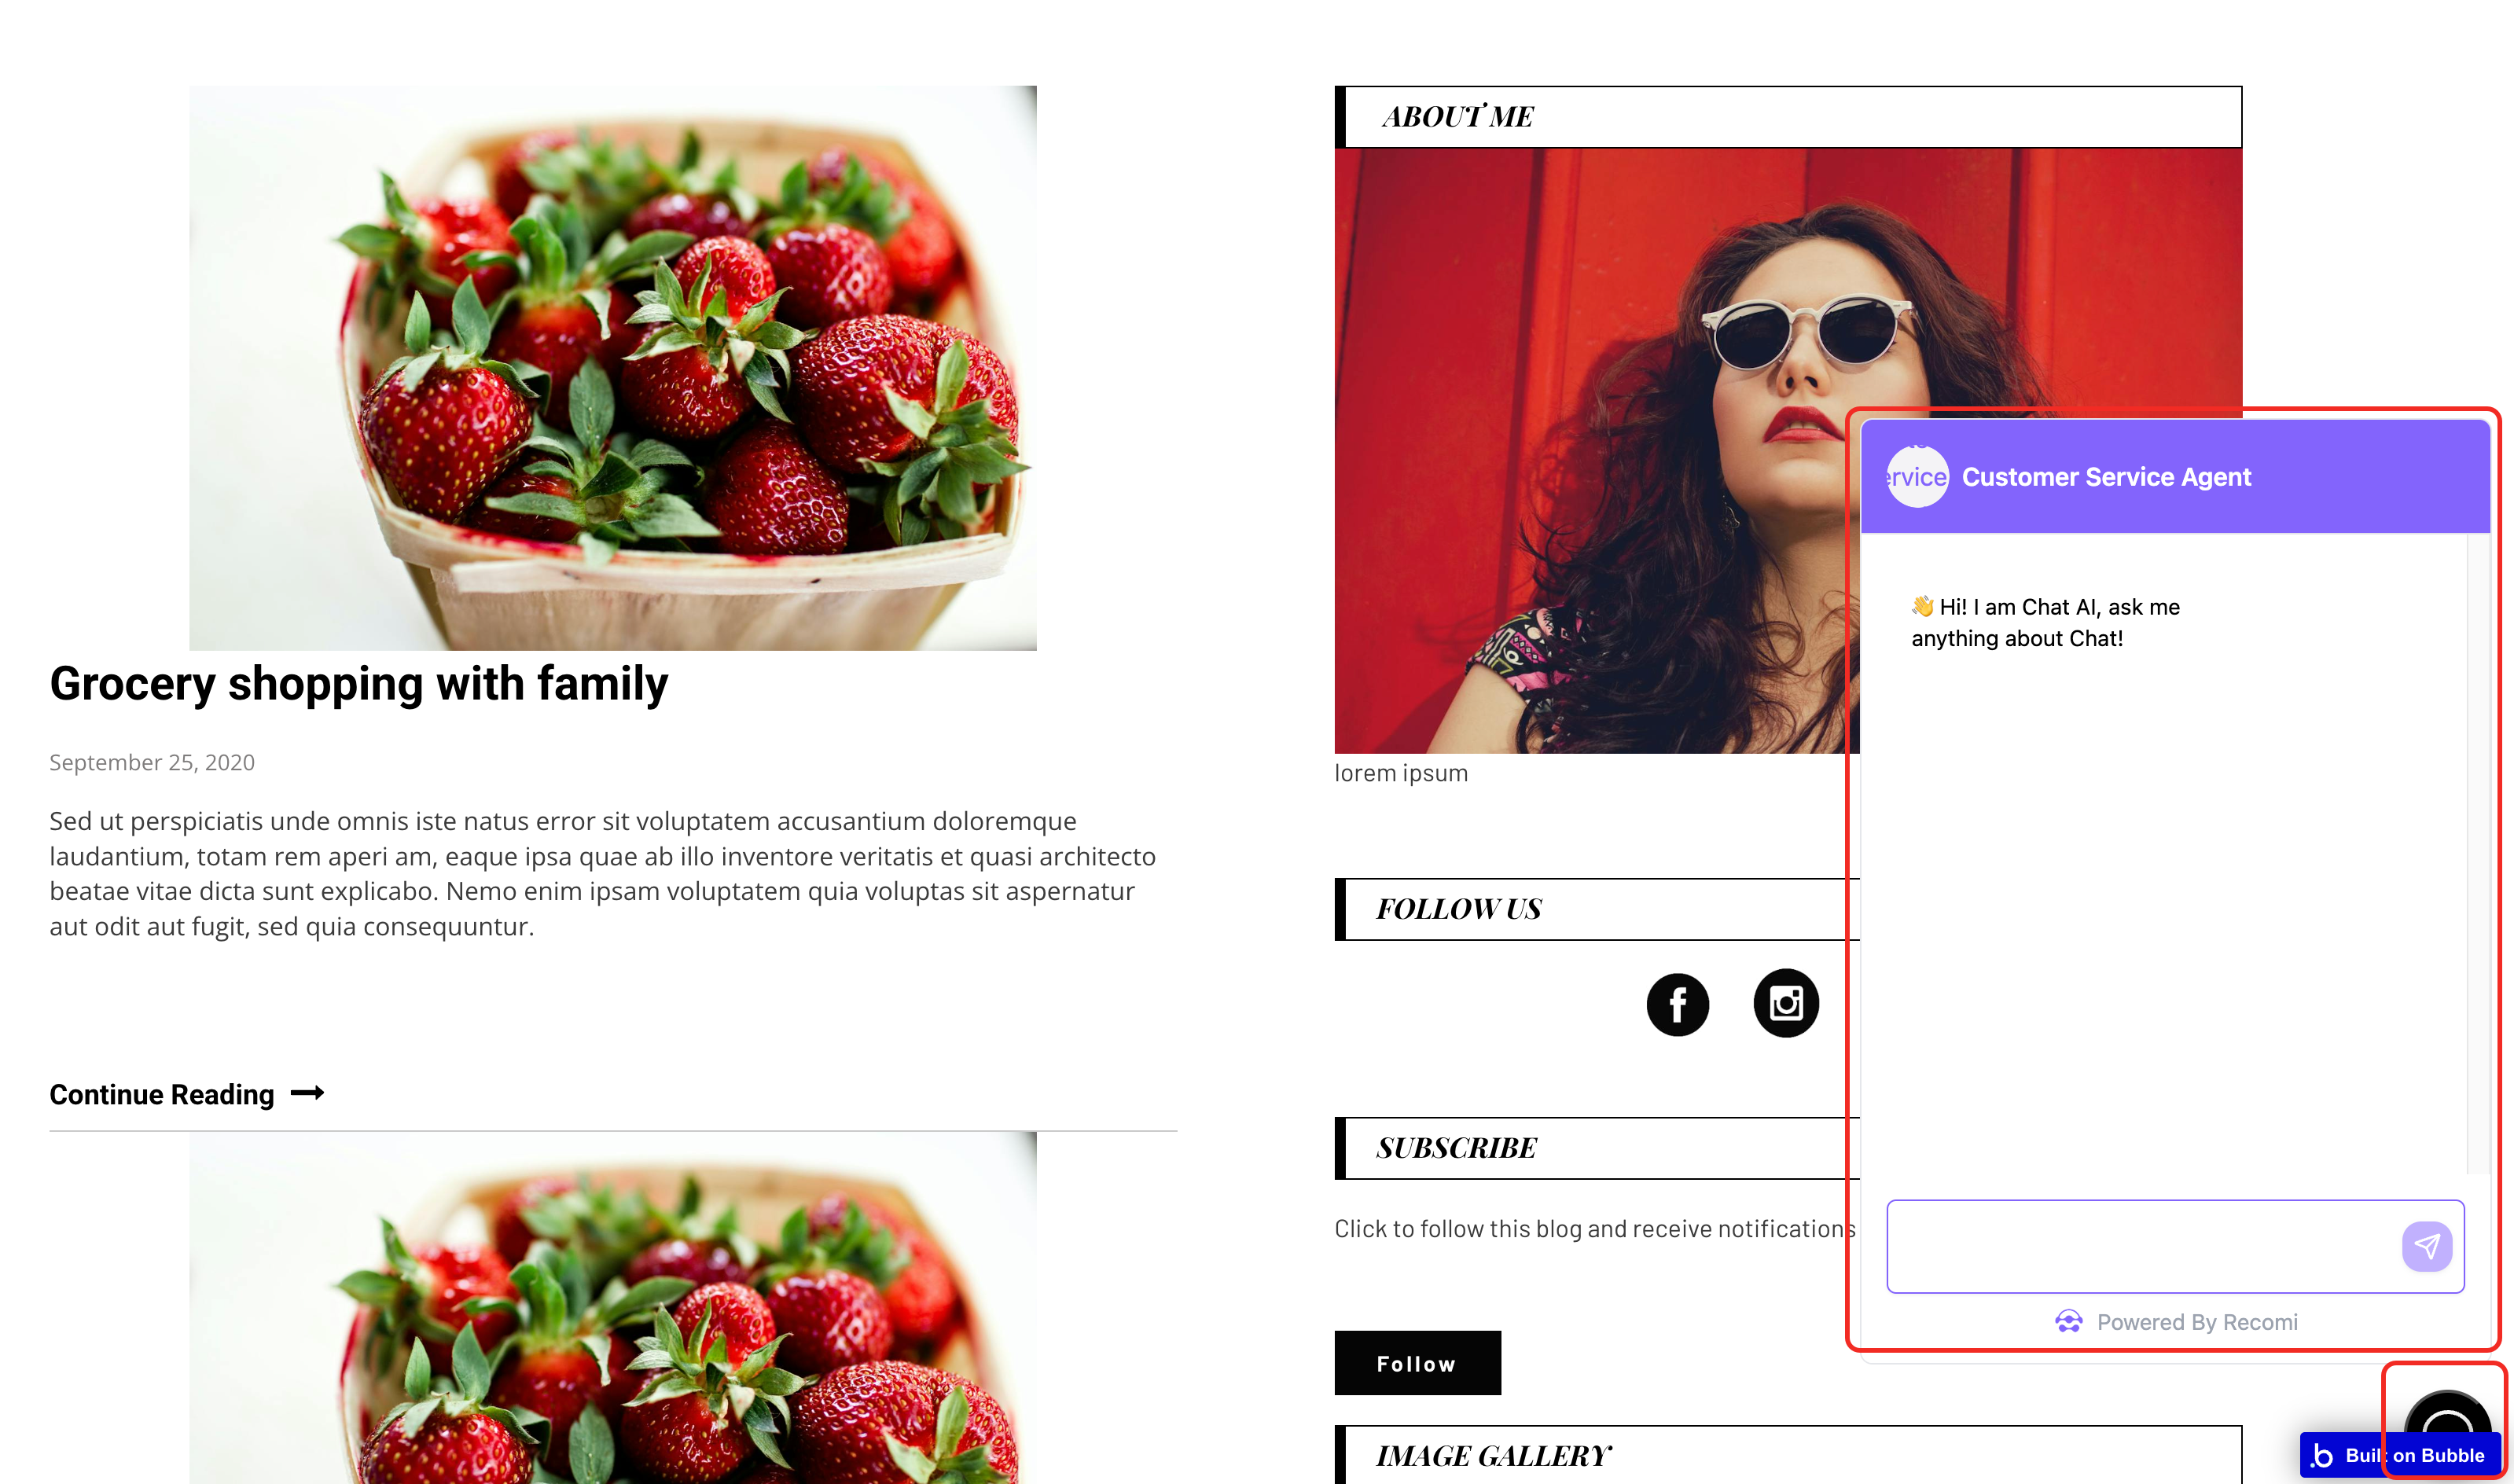 Congratulations! Your Recomi AI agent is now successfully integrated into your Bubble app.
## Customizing Your Recomi AI Agent
To personalize the appearance of your agent, go to your Recomi dashboard, select the agent you want to modify, and navigate to the **Playground** and **Settings** tab. You'll find various customization options to adjust the agent to match your branding and service:
* agent response language
* preset questions
* welcome message
* avatar and icon
* colors and visual style
Congratulations! Your Recomi AI agent is now successfully integrated into your Bubble app.
## Customizing Your Recomi AI Agent
To personalize the appearance of your agent, go to your Recomi dashboard, select the agent you want to modify, and navigate to the **Playground** and **Settings** tab. You'll find various customization options to adjust the agent to match your branding and service:
* agent response language
* preset questions
* welcome message
* avatar and icon
* colors and visual style